Kubernetes Applications on Raspberry PI 4
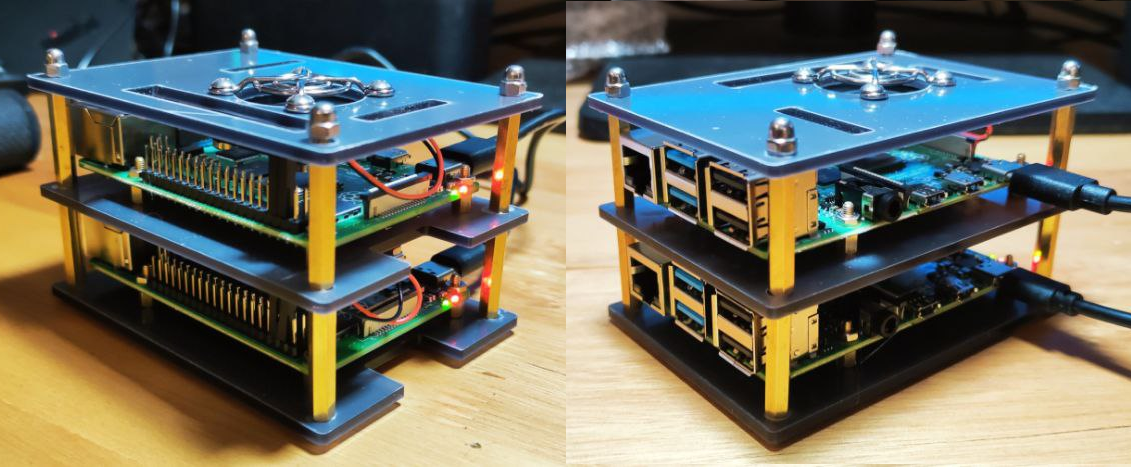
I want to deploy some testing applications on Kubernetes with automatic deployments triggered from a Git repository. So this was a fantastic excuse to build a Raspberry PI 4 Rack for self-hosting applications. The solution includes K3S (lightweight Kubernetes), Jenkins (for the CICD pipeline), Docker (to build and host the container images), and Gitlab CE (self-managed GitLab). This combination allows me to don't need any external service.
Deploy Kubernetes Apps on Raspberry PI 4
I need to deploy applications to a Self-hosted K8S Cluster. Also, I need to automate the deployments using Jenkins and an own Git server for the applications code using Gitlab CE. I will use 2 Raspberry PI for the solution. On the first Raspberry PI (aka rpi4a) I will install Kubernetes and Docker, and on the second (aka rpi4b), I will install Gitlab and Jenkins.
Requirements
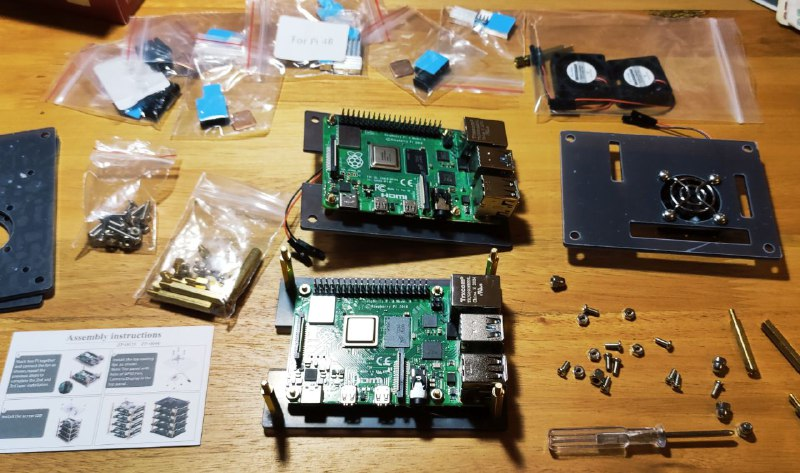
- 2 Raspberry pi 4 (8GB version)
- 2 Power supply (At least 3.0 amps for Raspberry Pi 4)
- 2 Ultra microSDXC 128 GB
- Raspberry PI Rack (Optional)
- Micro HDMI to HDMI cable (Only is necessary at the beginning)
Steps:
- Install Raspberry PI OS (Global)
- Connect to our Raspberry PI (Global)
- Set Hostname, update packages and change password (Global)
- Install Docker (rpi4a)
- Install Kubernetes (rpi4a)
- Install Jenkins (rpi4b)
- Install Gitlab CE (rpi4b)
Install Raspberry PI OS
First, we need to install the OS to a MicroSD card, which is an easy task using Raspberry PI Imager. Download and install Raspberry Pi Imager to a computer with an SD card reader. Put the SD card you’ll use with your Raspberry Pi into the reader and run Raspberry Pi Imager. I will use the minimal installation without Desktop.
How to use Raspberry Pi Imager on 46 seconds video:
Connect to our Raspberry PI
It is more convenient to connect to our Raspberry PI using SSH. for that reason, we need to enable an SSH connection and configure the Wi-FI connection.
Connect to the Wi-Fi:
We only need to edit the wpa_supplicant with the SSID and the Password.
pi@raspberrypi:~ $ cat /etc/wpa_supplicant/wpa_supplicant.conf
ctrl_interface=DIR=/var/run/wpa_supplicant GROUP=netdev
update_config=1
country=US

network={
	ssid="nhernandez"
	psk="PASSWORD"
}
Note: we can also do the same with the command sudo raspi-config -> System Options -> Wireless LAN
Start and Enable SSH on Boot:
Newpi@raspberrypi:~ $ sudo systemctl start ssh
pi@raspberrypi:~ $ sudo systemctl enable ssh
Set Hostname, update packages and change password
Set Hostname:
On both Rpi we need to change the default hsotname. It is so simple using the raspi-config
sudo raspi-config -> System Options -> Hostname
Update packages:
APT keeps a list of software sources on your Pi in a file at /etc/apt/sources.list. Before installing software, you should update your package list with apt update.
pi@rpi4a:~ $ sudo apt update
Next, upgrade all your installed packages to their latest versions with the following command:
pi@rpi4a:~ $ sudo apt full-upgrade
Note: full-upgrade is used in preference to a simple upgrade, as it also picks up any dependency changes that may have been made.
Change password:
The default password for the pi user is raspberry, we need to change that
pi@rpi4a:~ $ passwd
Install Docker
To install Docker on our Rpi we can use the automatic installer:
pi@rpi4a:~ $ curl -fsSL https://get.docker.com -o get-docker.sh
pi@rpi4a:~ $ sudo sh get-docker.sh
Now we need to add our user to the docker group if we want to use with sudo
pi@rpi4a:~ $ sudo usermod -aG docker $USER
Let’s check the Docker version
pi@rpi4a:~ $ docker --version
Docker version 20.10.8, build 3967b7d
And finally we can run a test container
pi@rpi4a:~ $ docker run hello-world

Hello from Docker!
This message shows that your installation appears to be working correctly.
Install Kubernetes
Now we are going to deploy a single node cluster, using K3S , a lightweight Kubernetes flavor developed from Rancher company. Easy to install, half the memory, all in a binary of less than 100 MB.
K3S principal features:
- Packaged as a single binary.
- Use sqlite3 instead of Etcd
- Secure by default
- Use Traefik ingress controller
The installation is pretty easy:
pi@rpi4a:~ $ curl -sfL https://get.k3s.io | sh -
[INFO]  Finding release for channel stable
[INFO]  Using v1.21.3+k3s1 as release
[INFO]  Downloading hash https://github.com/k3s-io/k3s/releases/download/v1.21.3+k3s1/sha256sum-arm.txt
[INFO]  Downloading binary https://github.com/k3s-io/k3s/releases/download/v1.21.3+k3s1/k3s-armhf
[INFO]  Verifying binary download
[INFO]  Installing k3s to /usr/local/bin/k3s
[INFO]  Creating /usr/local/bin/kubectl symlink to k3s
[INFO]  Creating /usr/local/bin/crictl symlink to k3s
[INFO]  Creating /usr/local/bin/ctr symlink to k3s
[INFO]  Creating killall script /usr/local/bin/k3s-killall.sh
[INFO]  Creating uninstall script /usr/local/bin/k3s-uninstall.sh
[INFO]  env: Creating environment file /etc/systemd/system/k3s.service.env
[INFO]  systemd: Creating service file /etc/systemd/system/k3s.service
[INFO]  systemd: Enabling k3s unit
Created symlink /etc/systemd/system/multi-user.target.wants/k3s.service → /etc/systemd/system/k3s.service.
[INFO]  systemd: Starting k3s
Job for k3s.service failed because the control process exited with error code.
See "systemctl status k3s.service" and "journalctl -xe" for details.
Looking for the error, is an issue on RPI 4 Model Bs caused by the lastest kernel update which broke the ‘cgroup’.
pi@rpi4a:~ $ uname -a
Linux rpi4a 5.10.17-v7l+ #1414 SMP Fri Apr 30 13:20:47 BST 2021 armv7l GNU/Linux
The issue can be resolved after adding cgroup_memory=1 cgroup_enable=memory to the end of /boot/cmdline.txt , and after that doing a reboot.
It would read as follow:
pi@rpi4a:~ $ cat /boot/cmdline.txt
console=serial0,115200 console=tty1 root=PARTUUID=f4e95423-02 rootfstype=ext4 elevator=deadline fsck.repair=yes rootwait cgroup_memory=1 cgroup_enable=memory
Now we can test the Cluster.
List the nodes:
pi@rpi4a:~ $ sudo kubectl get nodes
NAME    STATUS   ROLES                  AGE     VERSION
rpi4a   Ready    control-plane,master   9m20s   v1.21.3+k3s1
View the pods on the Default Namespace:
pi@rpi4a:~ $ sudo kubectl get pods
No resources found in default namespace.
Deploy a pod for testing:
pi@rpi4a:~ $ sudo kubectl run nginx-test --image nginx
pod/nginx-test created
pi@rpi4a:~ $ sudo kubectl get pods
NAME         READY   STATUS    RESTARTS   AGE
nginx-test   1/1     Running   0          80s
Install Jenkins
Jenkins is an open-source automation server designed to help automate tasks for software development. The Raspberry Pi is a good fit for Jenkins when handling basic tasks and compilation of small ARM programs.
Features:
- Continuous Integration and Continuous Delivery: You can tune your Jenkins server to a simple CI Server, or to integrate in real time any change the developer team made on the public hub
- Easy Installation: as you’ll see in the next paragraph, Jenkins is easy to install on any platform, and Raspberry Pi is perfect for this
- Easy Configuration: you can change everything from the web interface
- Plugins: like I already mentioned in the introduction, there are hundreds of plugins available to fit your needs
- Extensible: this goes along with the previous point, but you can easily improve Jenkins with all the available free plugins
Jenkins needs java to run, because of that, we need to install Java JDK
pi@rpi4b:~ $ sudo apt install openjdk-11-jdk -y
We can check
pi@rpi4b:~ $ java --version
openjdk 11.0.12 2021-07-20
OpenJDK Runtime Environment (build 11.0.12+7-post-Raspbian-2deb10u1)
OpenJDK Server VM (build 11.0.12+7-post-Raspbian-2deb10u1, mixed mode)
Now we can install Jenkins on our RPi.
Download the repository key:
pi@rpi4b:~ $ wget -q -O - https://pkg.jenkins.io/debian-stable/jenkins.io.key | sudo apt-key add -
OK
Add the repository:
pi@rpi4b:~ $ sudo sh -c 'echo deb https://pkg.jenkins.io/debian-stable binary/ > /etc/apt/sources.list.d/jenkins.list'
Now let’s update again:
pi@rpi4b:~ $ sudo apt-get update
Ign:1 https://pkg.jenkins.io/debian-stable binary/ InRelease
Get:2 https://pkg.jenkins.io/debian-stable binary/ Release [2,044 B]
Get:3 https://pkg.jenkins.io/debian-stable binary/ Release.gpg [833 B]
Hit:4 http://raspbian.raspberrypi.org/raspbian buster InRelease
Hit:5 http://archive.raspberrypi.org/debian buster InRelease
Get:6 https://pkg.jenkins.io/debian-stable binary/ Packages [20.6 kB]
Finally, we can install Jenkins:
pi@rpi4b:~ $ sudo apt install jenkins
Now we can access to Jenkins on http://YOU_PI_IP_ADDRESS:8080/
When you first go to the web address, you will be asked to unlock Jenkins.
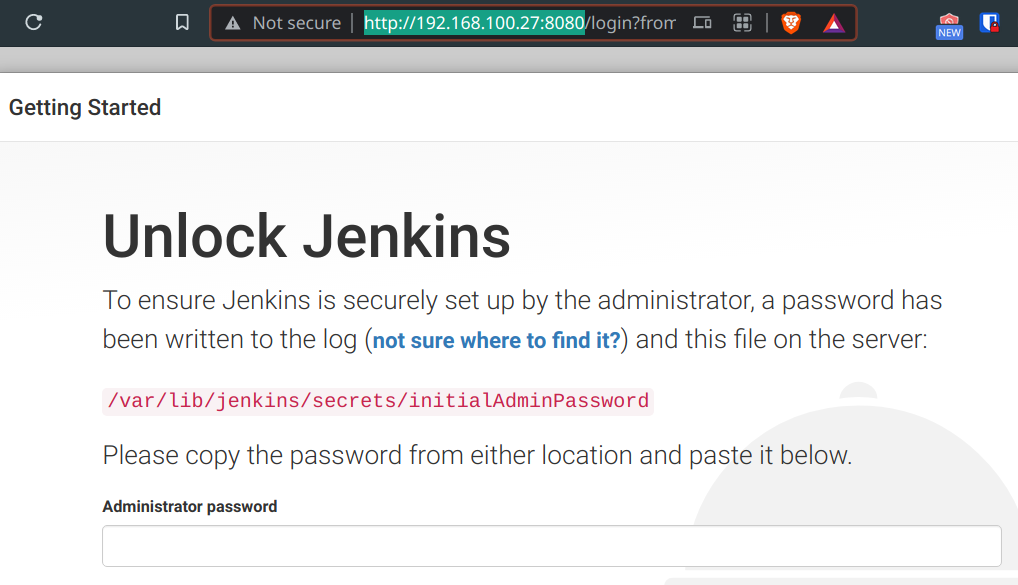
We need to get the initial admin password:
pi@rpi4b:~ $ sudo cat /var/lib/jenkins/secrets/initialAdminPassword
Now we can access. On the next screen “customize Jenkins” i check the “Install suggested plugins” option. We need to wait a few minutes for the installation to finish.
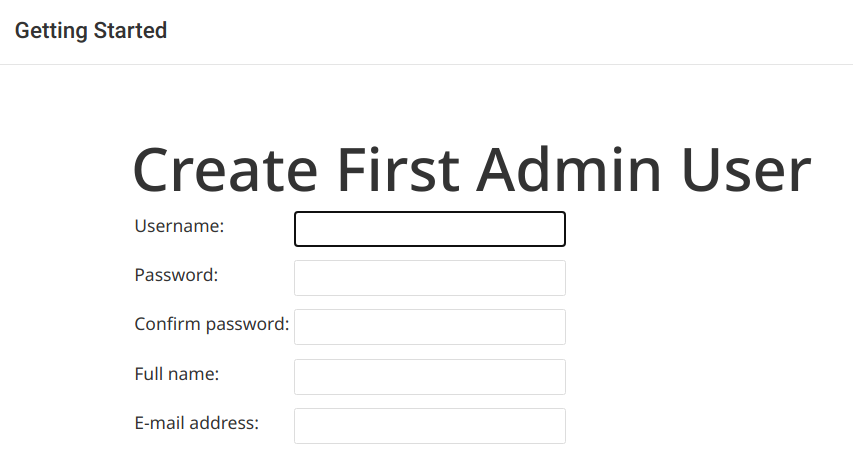
We need to set an Administrator account.
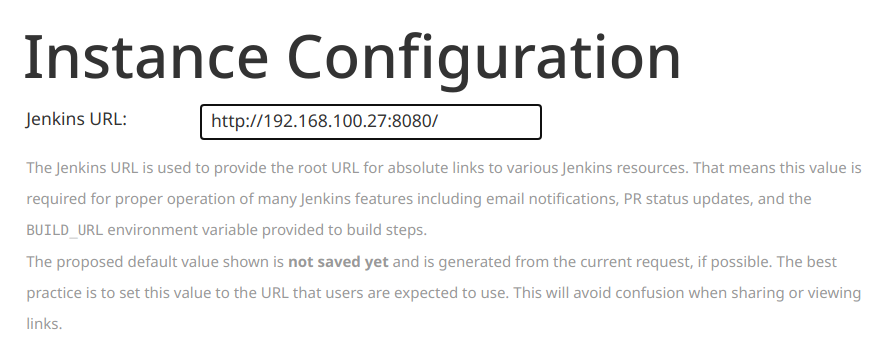
We should configure the IP with our static IP, as a change in IP will break the installation.
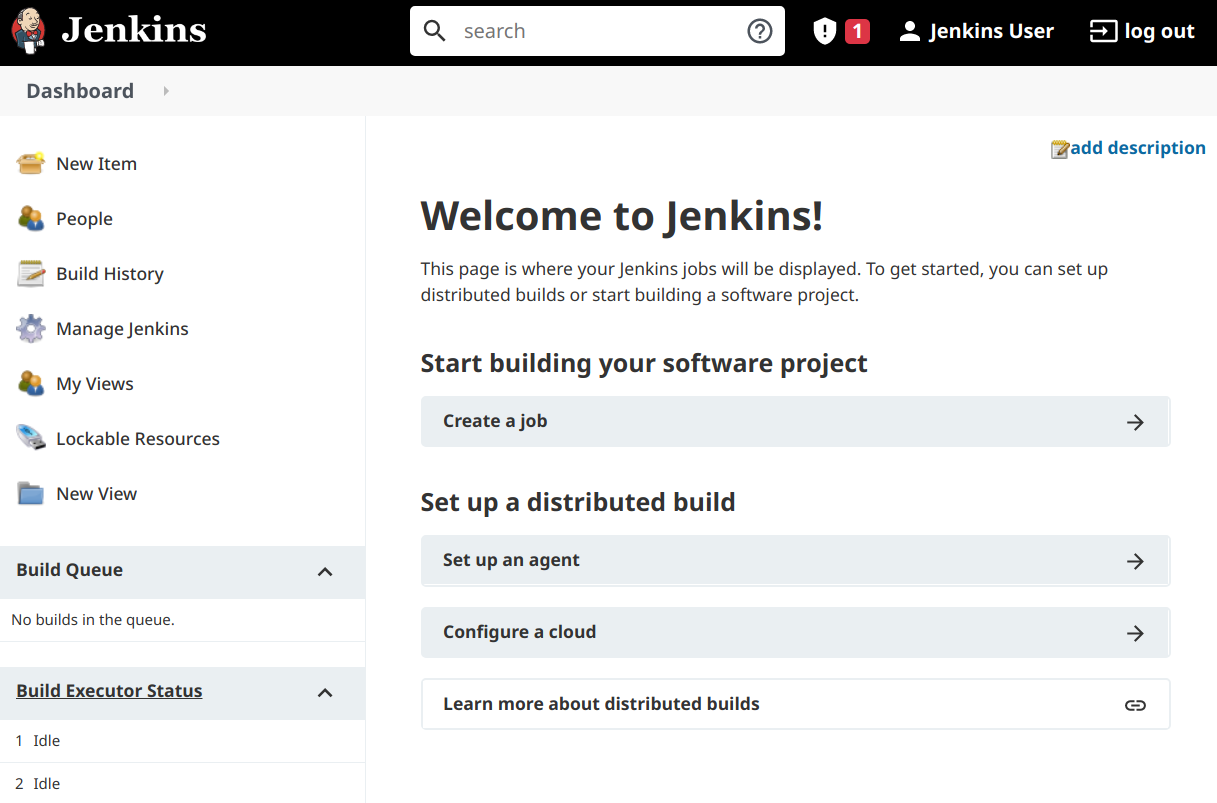
At last, we have our Jenkins installed
Install Gitlab CE
GitLab Community Edition (CE) is a Git repository and version control system. It is used by software development teams to consolidate source code, track and manage releases, increase code quality, deploy code changes, and track the evolution of software over time. It includes a fully functional Continuous Integration and Delivery (CI/CD) system for building, testing, and deploying code updates while your team is producing new code.
GitLab CE supports private registry for Docker containers enabling teams to streamline updates for production deployments that are running on a microservices architecture.
Gitlab needs some dependencies:
pi@rpi4b:~ $ sudo apt install curl openssh-server ca-certificates apt-transport-https postfix -y
Now we need to add the apt key for the repository:
pi@rpi4b:~ $ curl https://packages.gitlab.com/gpg.key | sudo apt-key add -
  % Total    % Received % Xferd  Average Speed   Time    Time     Time  Current
                                 Dload  Upload   Total   Spent    Left  Speed
100  3191  100  3191    0     0   3479      0 --:--:-- --:--:-- --:--:--  3479
OK
Then run the script to add the repository:
pi@rpi4b:~ $ sudo curl -sS https://packages.gitlab.com/install/repositories/gitlab/raspberry-pi2/script.deb.sh | sudo bash
Detected operating system as raspbian/buster.
Checking for curl...
Detected curl...
Checking for gpg...
Detected gpg...
Running apt-get update... done.
Installing apt-transport-https... done.
Installing /etc/apt/sources.list.d/gitlab_raspberry-pi2.list...done.
Importing packagecloud gpg key... done.
Running apt-get update... done.

The repository is setup! You can now install packages.
Install the Gitlab Package:
pi@rpi4b:~ $ sudo EXTERNAL_URL="http://192.168.100.27" apt install gitlab-ce
Note: Replace the EXTERNAL_URL value with your IP address
The installations takes time,
Final output:
Chef Infra Client finished, 568/1516 resources updated in 10 minutes 34 seconds

Notes:
Default admin account has been configured with following details:
Username: root
Password: You didn't opt-in to print initial root password to STDOUT.
Password stored to /etc/gitlab/initial_root_password. This file will be cleaned up in first reconfigure run after 24 hours.

NOTE: Because these credentials might be present in your log files in plain text, it is highly recommended to reset the password following https://docs.gitlab.com/ee/security/reset_user_password.html#reset-your-root-password.

gitlab Reconfigured!

       *.                  *.
      ***                 ***
     *****               *****
    .******             *******
    ********            ********
   ,,,,,,,,,***********,,,,,,,,,
  ,,,,,,,,,,,*********,,,,,,,,,,,
  .,,,,,,,,,,,*******,,,,,,,,,,,,
      ,,,,,,,,,*****,,,,,,,,,.
         ,,,,,,,****,,,,,,
            .,,,***,,,,
                ,*,.
     _______ __  __          __
    / ____(_) /_/ /   ____ _/ /_
   / / __/ / __/ /   / __ `/ __ \
  / /_/ / / /_/ /___/ /_/ / /_/ /
  \____/_/\__/_____/\__,_/_.___/

Thank you for installing GitLab!
GitLab should be available at http://192.168.100.27
Now we can access to our Gitlab server and… Fix error 502

This happens because Gitlab need more Swap space. The default configuration is only 100mb.
From Gilab docs:
Even with a newer Pi, the first setting you will want to change is to ensure the device has enough memory available by expanding the swap space to 4GB.
pi@rpi4b:~ $ free -m
              total        used        free      shared  buff/cache   available
Mem:           7875        2372        2558         108        2944        5104
Swap:            99           9          90
Increase our swap size:
pi@rpi4b:~ $ sudo dphys-swapfile swapoff
pi@rpi4b:~ $ sudo sed -i 's/CONF_SWAPSIZE=100/CONF_SWAPSIZE=4096/' /etc/dphys-swapfile
pi@rpi4b:~ $ sudo dphys-swapfile setup
want /var/swap=4096MByte, restricting to config limit: 2048MBytes, checking existing: keeping it
pi@rpi4b:~ $ sudo dphys-swapfile swapon
Check again the Swap size:
pi@rpi4b:~ $ free -m
              total        used        free      shared  buff/cache   available
Mem:           7898        1553        5601          84         744        6005
Swap:          4095           0        4095
You might need a restart Gitlab to apply changes.
pi@rpi4b:~ $ sudo gitlab-ctl restart
Reduce running process: We can also reduce some runnin process (because Gitlab is a little to much for the PI)
Edit /etc/gitlab/gitlab.rb and change to set the following values:
# Reduce the number of running workers to the minimum in order to reduce memory usage
puma['worker_processes'] = 2
sidekiq['concurrency'] = 9
# Turn off monitoring to reduce idle cpu and disk usage
prometheus_monitoring['enable'] = false
Reconfigure Gitlab:
pi@rpi4b:~ $ sudo gitlab-ctl reconfigure
Finally we can access Gitlab CE from our browser:
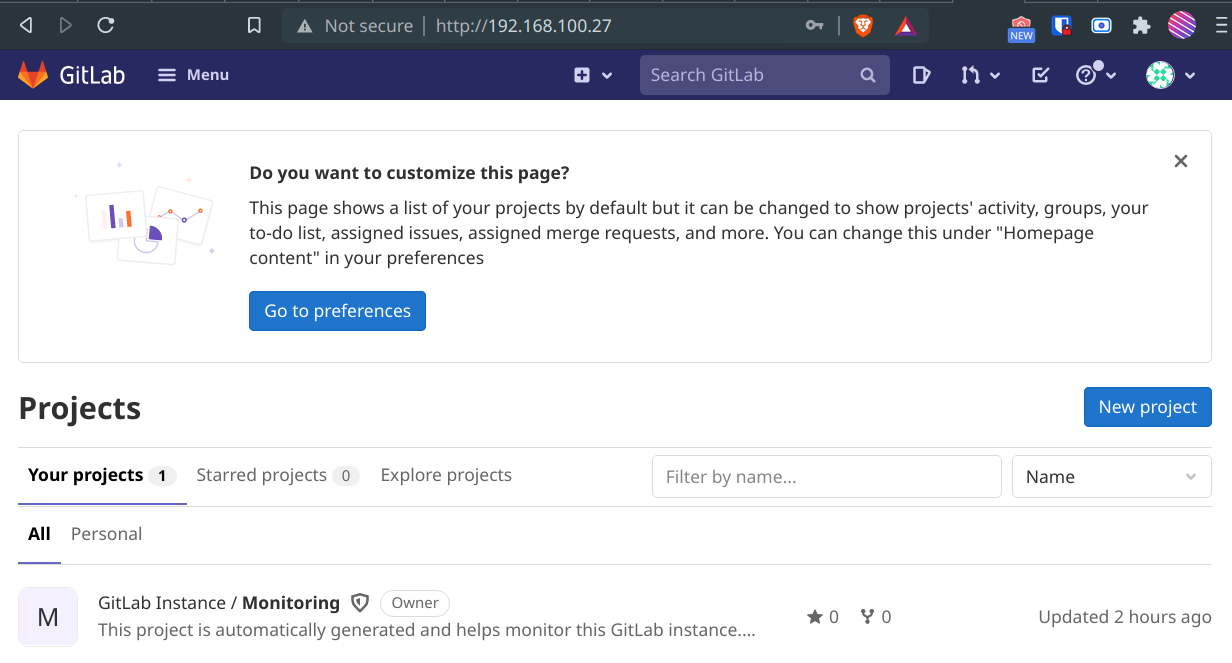
Note: The default password is on /etc/gitlab/initial_root_password and the user is root
Resources:
- https://www.raspberrypi.org/software/
- https://projects.raspberrypi.org/en/projects/raspberry-pi-setting-up
- https://github.com/k3s-io/k3s/issues/2067
- https://www.raspberrypi.org/documentation/computers/os.html
- https://rancher.com/docs/k3s/latest/en/
- https://raspberrytips.com/install-jenkins-raspberry-pi/
- https://docs.gitlab.com/omnibus/settings/rpi.html
- https://raspberrytips.com/gitlab-installation-raspberry-pi/